
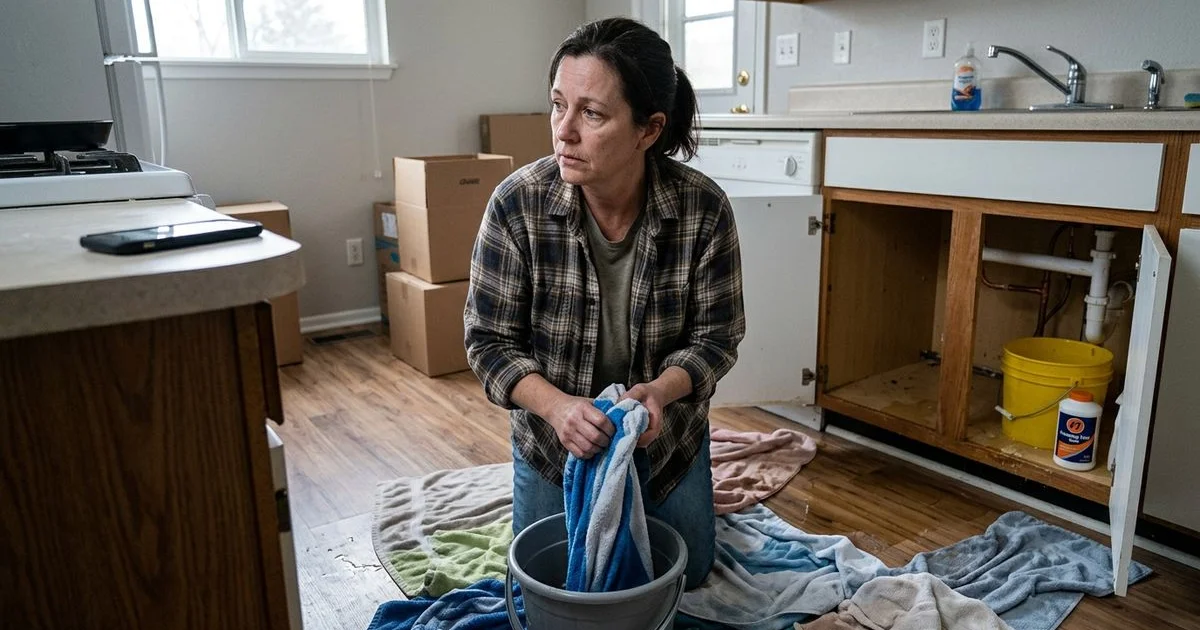
The 30 minutes between calling and arrival
We see the panic in Arvada homeowners every time a pipe bursts or a sewer backs up.
That initial shock often paralyzes people during the most critical window of time. Our experience shows that the first 30 to 60 minutes dictate whether you need a quick fix or a massive remodel. Recent 2026 insurance data reveals the average residential water damage claim now costs around $15,400.
We know exactly what to do before the plumber arrives to keep you far below that average. This quick action is how you limit water damage and protect your property. Our emergency plumbing process relies on a true partnership, so let’s look at the exact steps you should take while waiting for the truck to pull up.
Step 1: Stop the water at the source
Your first priority is always finding and closing the closest shutoff valve to stop the flow immediately. A standard residential pipe can pump out up to 8 gallons of water per minute, making fast action essential.
We highly recommend checking the fixture supply line first. Here are the typical locations for these valves:
- Toilets: Look low on the wall directly behind the bowl.
- Sinks: Check inside the cabinet beneath the basin.
- Water Heaters: Find the cold water pipe running into the top of the tank.
Our team often sees modern quarter-turn ball valves, which close quickly with a simple 90-degree twist clockwise. Older Arvada homes might have multi-turn gate valves that require several full rotations to stop the water.
If the fixture valve is stuck or hidden, you must secure the main line for the entire house. We put together a visual how to shut off the water main guide to help you find this critical component. Most local houses have this main valve located in the basement, the crawlspace, or near the front foundation wall.
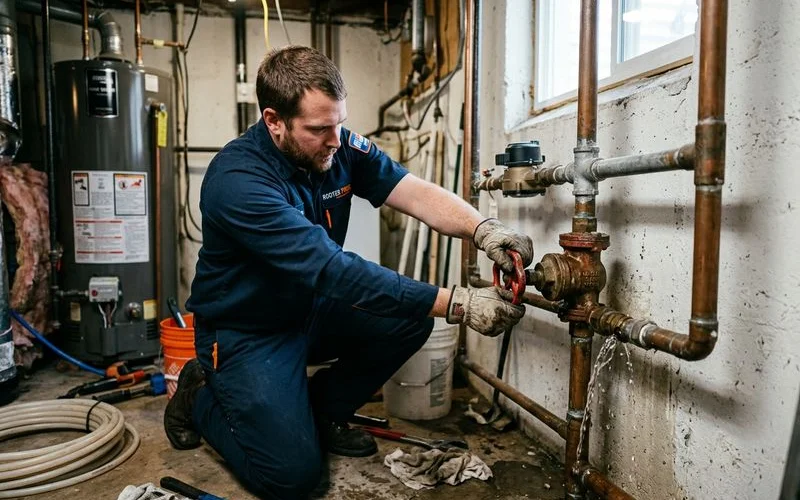
Our plumbers can work much faster once the active flood is completely contained. You will immediately feel a sense of control after turning that handle.
Step 2: Manage electrical safety
Keeping yourself safe from electrocution is the next critical phase of the response. Water acts as a rapid conductor, so you must neutralize nearby power sources before stepping into puddles.
We tell every customer to locate their main electrical panel, which usually features a Square D, Cutler-Hammer, or similar breaker system. Flipping the main switch protects you from 120-volt or 240-volt shocks if standing water reaches outlets. Take these specific precautions based on your situation:
- Flooded utility rooms: Shut off the entire house’s main breaker before entering a basement with deep water.
- Leaking water heaters: Turn off the dedicated breaker for electric units, or twist the gas supply valve perpendicular to the pipe for gas models.
- Nearby appliances: Unplug washing machines or space heaters only if your feet are completely dry and standing on a dry surface.
Our crews see burned-out heating elements constantly because a drained electric water heater tried to run while empty. Shutting off the power prevents this secondary damage and keeps you completely safe.
Step 3: Contain the spread
Capturing the remaining water aggressively will save your baseboards and flooring from ruin. Drywall actively absorbs moisture like a sponge, wicking water upward at a rate of about one inch per hour.
We always suggest grabbing a Shop-Vac or Ridgid wet/dry vacuum as your primary defense weapon. These machines remove gallons of water in seconds, which is significantly faster than using towels. The most effective hierarchy of containment tools includes:
- Wet/dry vacuum: The absolute fastest method for extracting standing puddles.
- Thick towels and rags: Perfect for creating a dam around the source and absorbing smaller drips.
- Large buckets: Essential for catching active overhead leaks or draining a compromised tank.
- Plastic tarps: Excellent for shielding furniture or lower floors from water seeping through a ceiling.
We advise homeowners to clear the floor of anything porous, including rugs, cardboard boxes, and delicate electronics. Getting these items out of the splash zone limits the financial impact of the plumbing emergency steps you take today.
Step 4: Document for insurance
Photographic proof is mandatory if you plan to file a claim with State Farm, Allstate, or your local provider. A 24-hour to 48-hour window exists before mold starts developing, so timestamped evidence is crucial for proving the timeline.
We encourage you to grab your smartphone and start recording video before you finish mopping up. Adjusting the lighting and showing the exact source of the leak provides indisputable evidence for the adjuster.
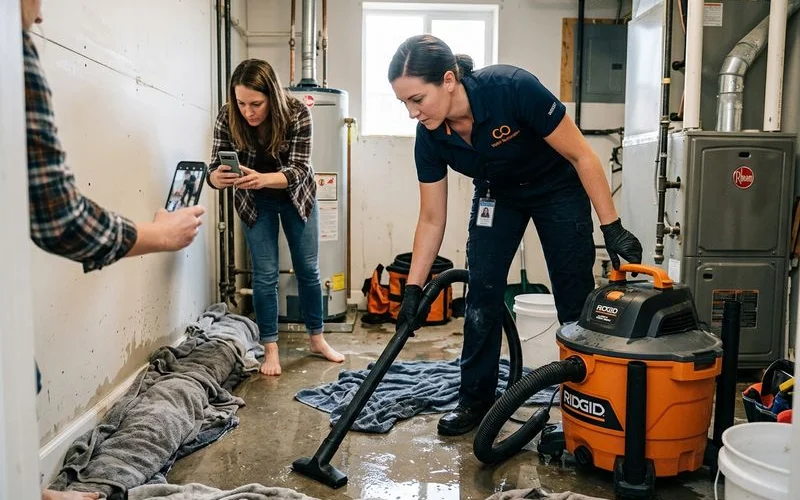
Make sure to capture these specific details:
- The origin point: Snap close-ups of the split pipe, the cracked toilet tank, or the overflowing drain.
- The water’s reach: Take wide shots showing how far the puddles traveled across your floors.
- Ruined materials: Document soaked drywall, warped hardwood, and drenched furniture.
- Appliance data: Photograph the brand names, serial numbers, and model tags of any failed equipment.
Our office has seen too many denied claims because a homeowner cleaned everything up before taking pictures. Keeping thorough records gives you options later on, even if you pay out of pocket initially.
Step 5: Clear access for the plumber
A clear physical path allows the technician to bring heavy equipment directly to the problem area without delay. Dragging drain snakes, pipe wrenches, and extraction tools through a cluttered house slows down the repair process.
We ask that you move cars out of the driveway, especially during snowy Arvada winters, so the service van can park close. Colorado building codes mandate at least three feet of clearance around water heaters, so pull away any storage boxes blocking the unit. You can further prepare the workspace by taking these actions:
- Clear the hallways: Push aside side tables, shoes, and fragile decorations leading from the front door to the leak.
- Illuminate the space: Turn on all lights in gloomy basements or utility closets.
- Prepare a digital guide: Keep the photos you just took pulled up on your phone to show the technician exactly where the water originated.
Our priority is fixing the pipe the second we walk through the door. Removing physical obstacles guarantees the team can focus entirely on the plumbing issue.
Step 6: Stay safe, stay close to your phone
Communication is the final piece of the puzzle while you wait for assistance. The dispatch office or the technician will try to contact you to provide an exact estimated time of arrival.
We utilize tracking and communication software to send you text updates or a quick phone call when the truck is nearby. Missing this alert might cause a delay if the driver cannot confirm you are home. Our technicians appreciate a quick summary of the situation when they step inside. Have these details ready to share upon arrival:
- The timeline: Note the exact time you first discovered the water.
- The actions taken: List which shutoff valves or electrical breakers you already turned off.
- The initial signs: Describe if you heard a pop, smelled sewage, or noticed a drop in water pressure earlier in the day.
We want to limit water damage just as much as you do. Staying calm and accessible ensures a smooth transition from your emergency response to the professional repair.
A short reference list for the wait
Reviewing a cheat sheet can keep you focused when panic sets in. Use this table to determine your very first action based on the specific crisis.
| Situation | First move |
|---|---|
| Burst pipe | Turn off the main shutoff valve. Flip the breaker panel switch if water nears outlets. |
| Overflowing toilet | Twist the fixture shutoff clockwise under the tank. Grab a flanged plunger. |
| Leaking water heater | Close the cold supply valve above the unit. Shut off the gas line or dedicated electric breaker. |
| Sewer backup | Stop running all household water immediately. Avoid touching contaminated water and open windows. |
| Faucet shooting water | Turn the under-sink angle stop valve. Clear the cabinet to prevent wood warping. |
| Slab leak or wall leak | Secure the main water shutoff. Deploy wet/dry vacuums and start documenting the spread. |
Your very first call should always be to a licensed emergency plumber. The second call goes to your insurance agent, armed with the photos and facts you just gathered.
We know that handling a flooded room feels overwhelming. Following this guide on what to do before the plumber arrives makes all the difference in protecting your home. A massive disaster is often avoidable if those first 30 minutes are used well.