
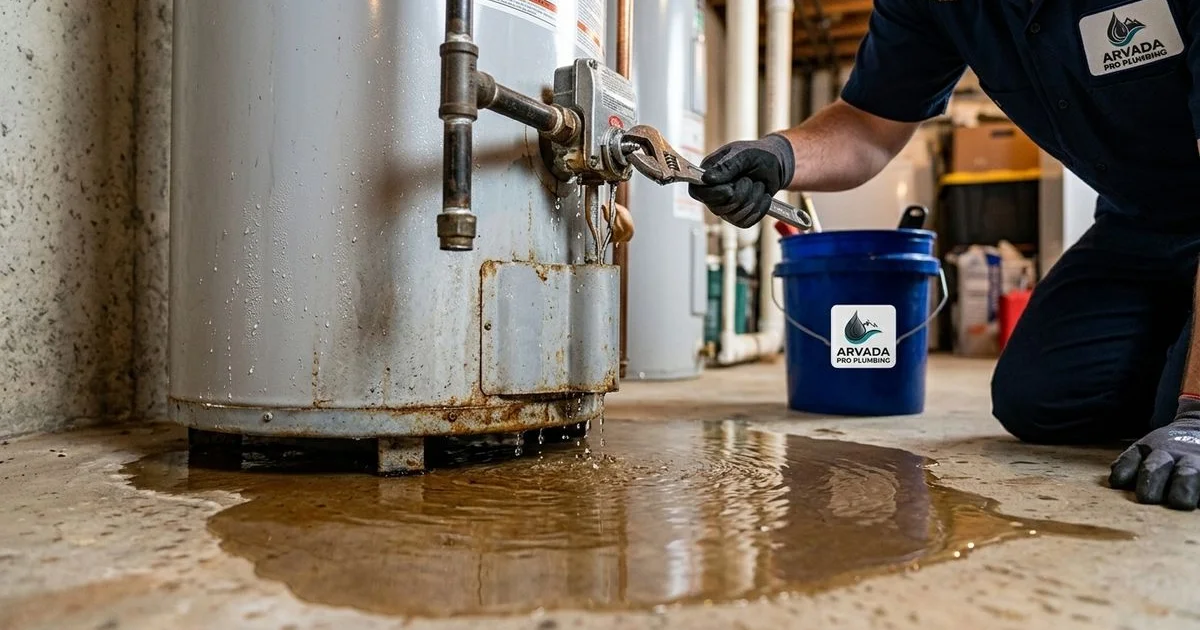
Stay calm. Then act.
We always tell customers that a leaking water heater emergency is a serious concern, but it only becomes a true crisis if the main tank body ruptures.
A typical residential tank holds 30 to 80 gallons, so any breach quickly covers your floor and looks terrifying. Taking immediate action stops the flood and protects your property.
Our team walks customers through a simple triage flow over the phone when water heater repair emergencies come in.
The 2026 national data shows average residential water damage restoration costs hit $3,864.
You can avoid that massive expense by identifying the leak source and shutting off the supply lines right away. We will break down exactly how to secure your equipment and stop the water.
Step 1: Identify the leak source
Finding the exact source of the moisture tells you immediately if the unit needs a simple fix or a total replacement. When you catch your water heater leaking, the moisture generally originates from four specific places on the appliance. We see a lot of variation in Arvada homes, but the culprit is usually one of these distinct components.
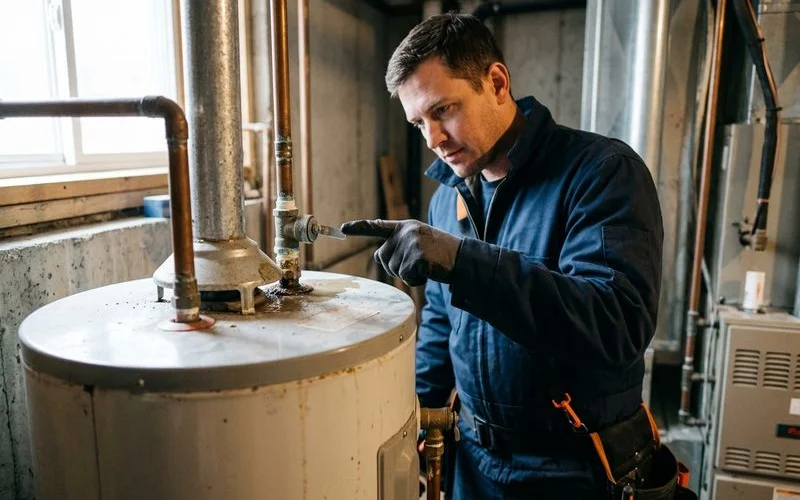
T&P (Temperature & Pressure Relief) valve
A small valve sits on the side or top of the tank, usually with a pipe going down to a drain or the floor. Leaks here indicate the valve itself is failing or that internal pressure is too high.
Our local codes require these safety devices to open and discharge water if internal pressure exceeds 150 psi or temperatures hit 210 degrees Fahrenheit. High municipal water pressure sometimes triggers this release automatically.
The urgency is medium, and this issue is highly repairable. We recommend checking your home’s main pressure reducing valve if the T&P component discharges frequently.
Top connections (cold supply, hot output)
Pipes connect directly to the top of the tank to handle cold supply and hot output. Leaks here are usually from a worn fitting, a faulty dielectric union, or a loose connection.
We frequently replace these specific fittings to meet modern safety standards and prevent galvanic corrosion. These metallic unions degrade over time due to constant exposure to moisture and heat.
The urgency is medium, and a plumber can fix it easily. Our technicians can usually resolve this problem in less than an hour without replacing the whole tank.
Drain valve at the bottom
A spigot rests at the bottom of the tank to allow for routine draining and flushing. This valve sometimes leaks after a maintenance flush or due to heavy mineral buildup preventing a tight seal.
We notice that Arvada’s hard water leaves heavy calcium deposits right at this exit point. These mineral chunks block the internal washer from closing completely.
The urgency is low to medium, and repairs are very common. Our team easily swaps out a failing plastic drain valve for a more durable brass version to stop the drip.
The tank itself
Water visibly seeping or pooling from the body of the tank means serious trouble. If moisture appears under the outer jacket and not from a specific valve, the inner liner has completely failed.
We see this happen faster in Colorado because our hard water accelerates internal corrosion. While the national average lifespan of a unit is 12 to 15 years, local hard water reduces that to just 8 to 11 years.
This creates a water heater leak urgent scenario, because it indicates complete tank failure. Our crews cannot patch a rusted inner steel tank, making immediate replacement your only realistic option.
Step 2: Shut things off
Shutting off the fuel and water supply immediately is the best way to secure a leaking unit. You must perform these exact steps in order, regardless of where the moisture originates. We always advise homeowners to prioritize personal safety before touching any wet components.
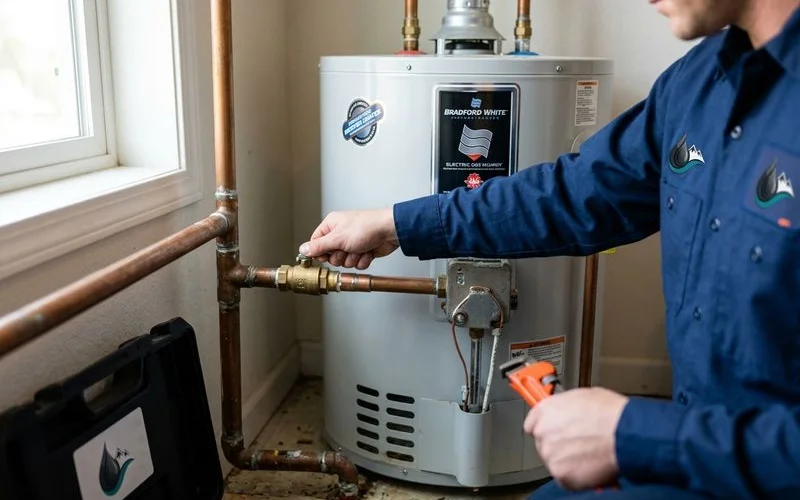
- Cold water supply. A dedicated valve sits above the heater on the cold inlet pipe on the right side. Turn this handle clockwise to close it and stop new water from entering the tank. We recommend locating this valve today before an emergency happens.
-
Power source. Gas units require you to turn the main temperature dial to the “OFF” position and close the shutoff valve on the gas line. Electric units require you to flip the dedicated breaker at your main electrical panel. Our plumbers see massive secondary damage when heating elements continue running inside a dry tank.
-
Contain the water. Grab old towels, a wet vacuum, or a plastic tarp to slide under the base. Removing standing water quickly reduces the severe damage to your drywall and flooring materials. We use heavy-duty extractors for large spills, but standard shop vacuums work great for early containment.
-
Document the scene. Take clear photos and a short video of the puddle before you start the cleanup process. Insurance companies require this visual evidence to process any potential water damage claims. We suggest logging the date and time of the incident to help your claims adjuster.
Step 3: Call
Calling a professional immediately is mandatory for a total tank failure, a steady T&P discharge, or any moisture near electrical wiring. You can wait until the next business day for a slow drain drip or an occasional T&P weep. Our dispatchers prioritize same-day service for anything involving active flooding or electrical hazards.
If the water is coming out fast and you cannot find the cold supply shutoff, shut off your home’s main water valve immediately. Check out this helpful guide on what to do before the plumber arrives to secure the rest of your property. We guarantee that taking these rapid steps will save your flooring and baseboards from rotting.
What is repairable, what is not
Knowing the source of the leak dictates exactly whether you need a minor repair or a brand new appliance. A faulty exterior valve is easily replaced, while a breached steel shell requires a full unit swap. We built this quick reference chart to help you understand what to expect when the technician arrives.
| Leak source | Typical fix | Average Service Time |
|---|---|---|
| T&P valve dripping | Replace T&P valve, verify 150 psi limit | 1 hour |
| T&P valve discharging steadily | Diagnose thermal expansion or PRV issue | 1 to 2 hours |
| Connection leak (top) | Replace fitting or dielectric union | 1 hour |
| Drain valve leak | Swap plastic drain for brass valve | 45 minutes |
| Tank leak (body) | Complete water heater replacement | 3 to 4 hours |
A simple valve swap costs a fraction of a new installation. Data from 2026 shows that repairing a minor component typically falls well below the 50 percent rule of replacement costs. We always advise replacing the entire unit if the repair estimate exceeds half the cost of a brand new tank.
A quick note on safety
Standing water around a powered heating appliance creates an immediate and deadly electrical hazard. You must leave the area and call an electrician or the fire department if you cannot safely reach the breaker panel.
Our safety protocols strictly forbid standing in puddles while handling energized 240-volt cables.
- A strong smell of rotten eggs near a gas appliance indicates an active fuel leak.
- Evacuate the property immediately until the gas company shuts off the main meter.
- We instruct all customers to wait outside for the utility provider to arrive.
Triage the situation carefully, shut off the supplies, contain the spill, and call a professional. A prompt response limits the destruction and gets your plumbing system back online.
We are ready to dispatch an expert to restore your hot water safely and efficiently today.